
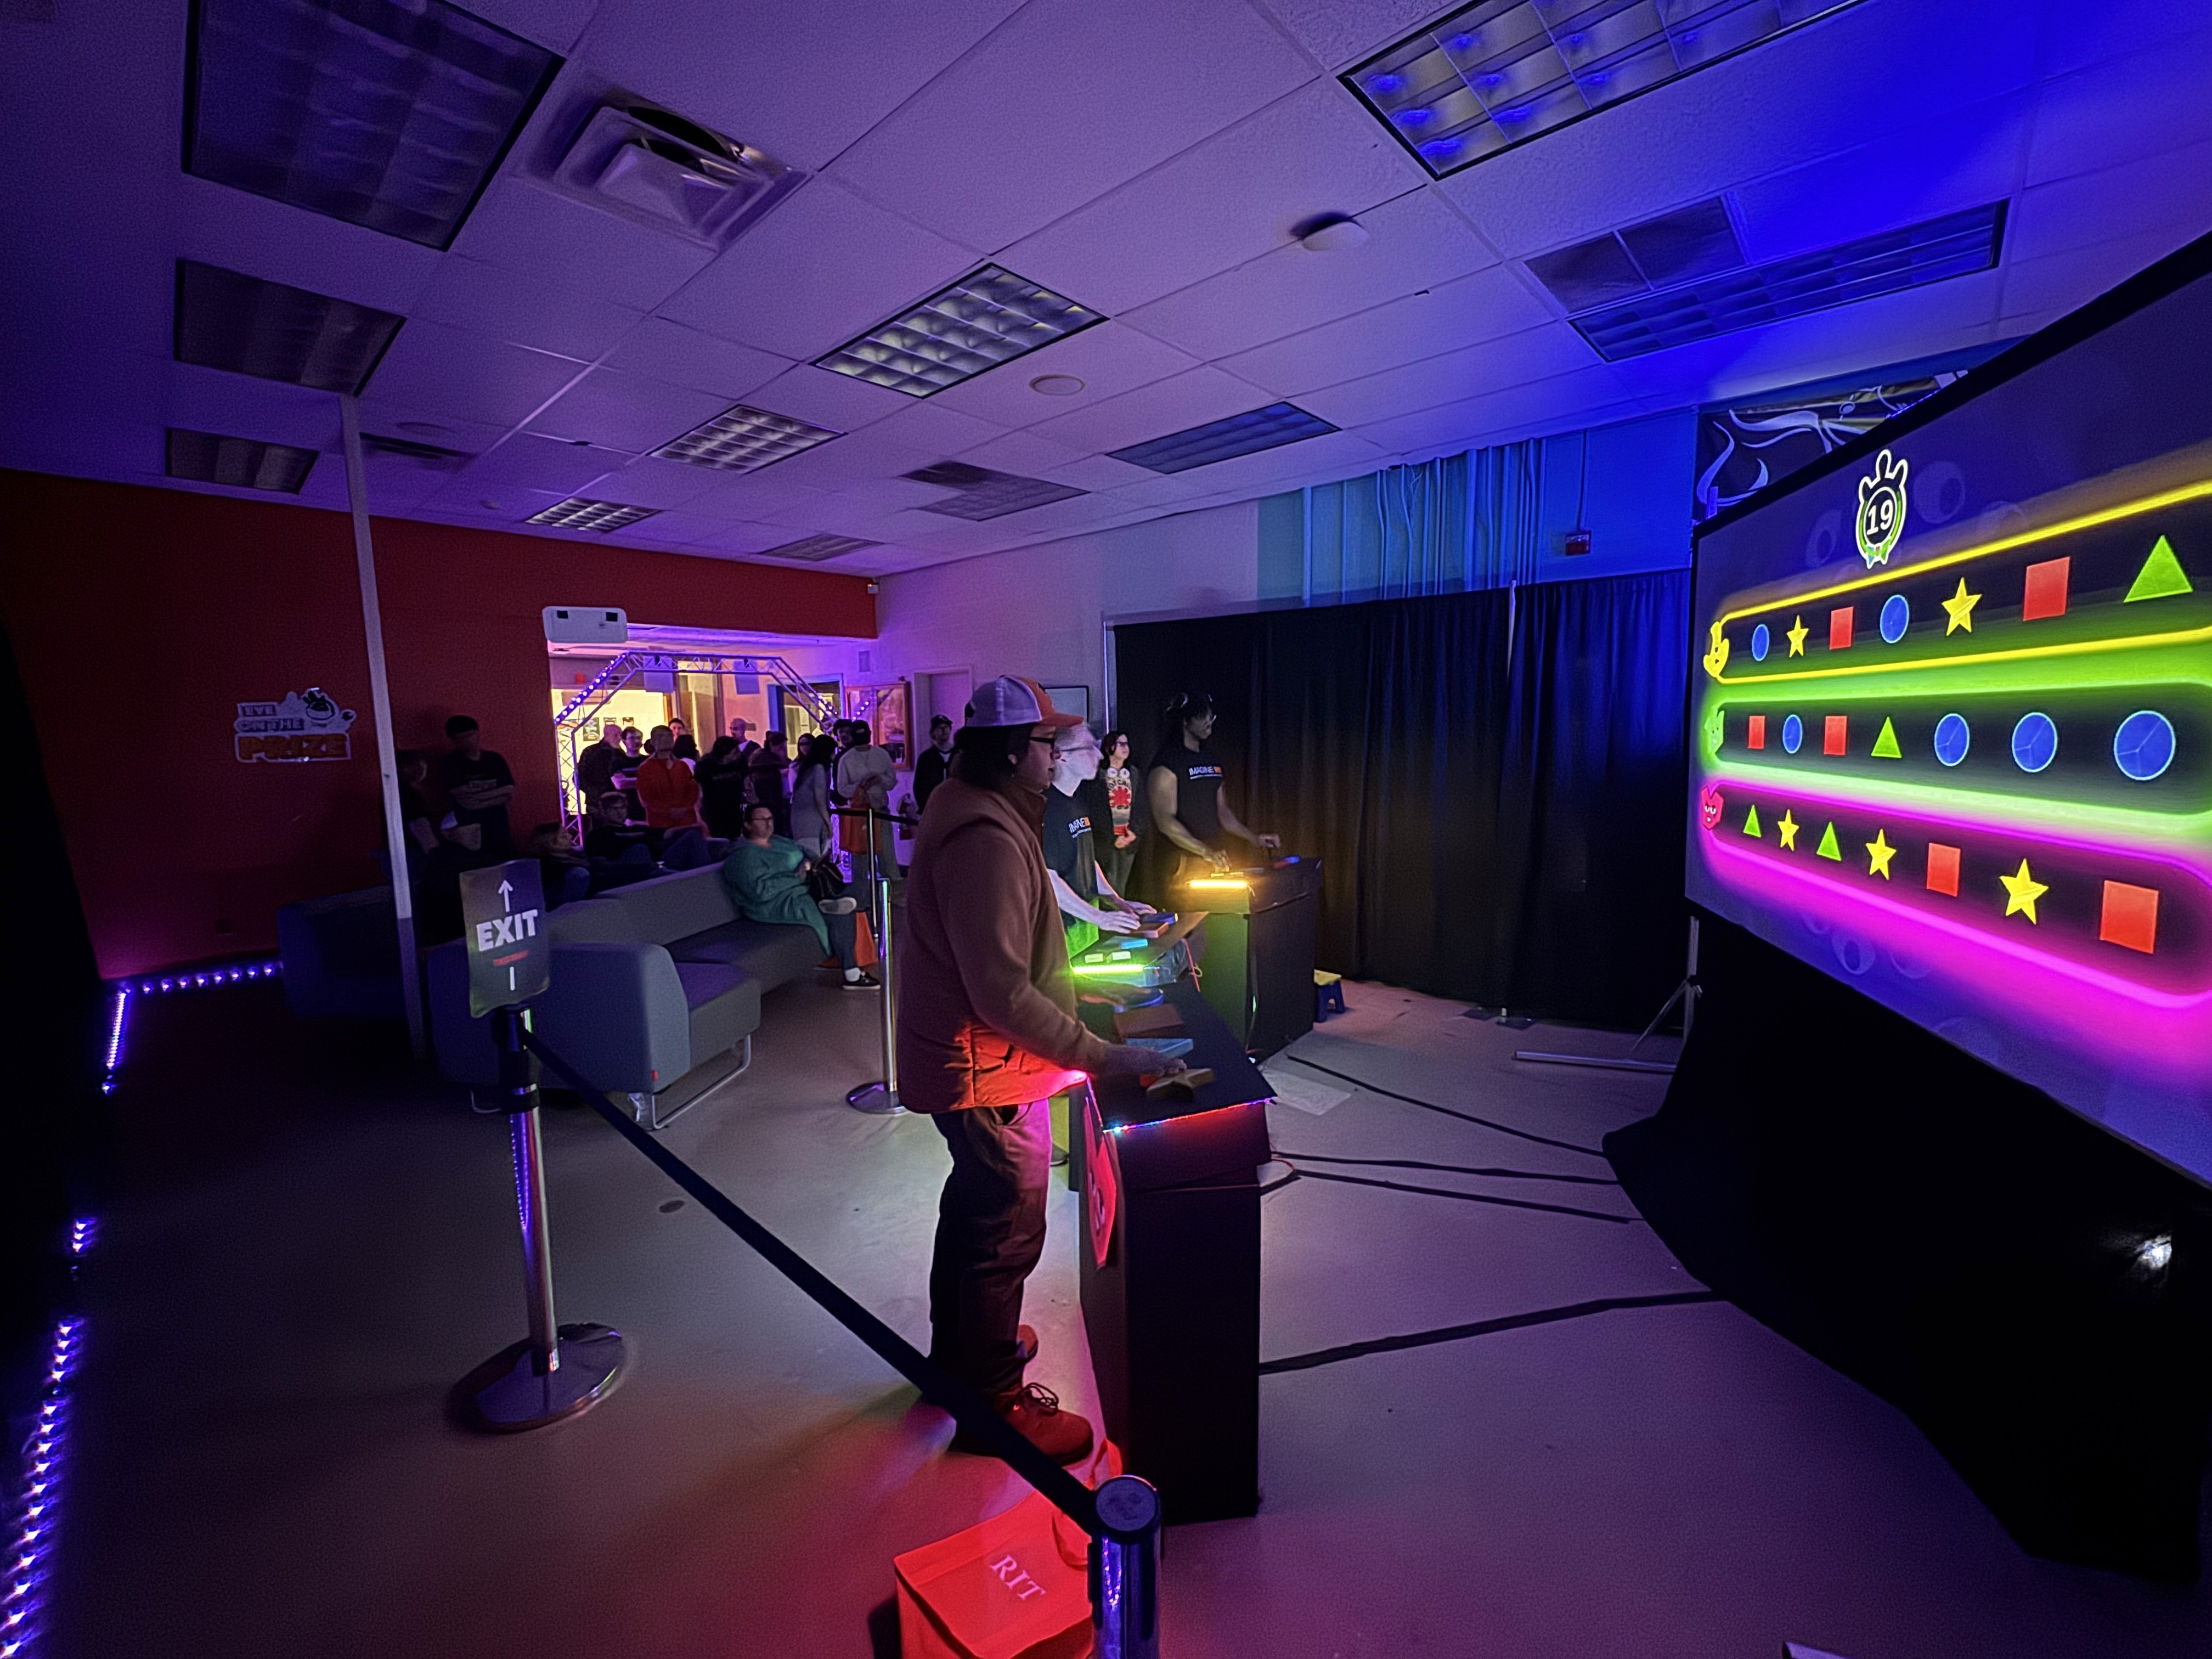
OVERVIEW
OVERVIEW
OVERVIEW
Button Designs
Button Designs
Button Designs
For Eye on the Prize, we built custom buttons that combined 3D printing with electronics. After adjusting the files, fixing conversion issues and adjusting the size, we landed on a working design that felt solid and responsive. We connected it to an Arduino and used it to trigger an LED, which became the final buttons that were used in the project.
For Eye on the Prize, we built custom buttons that combined 3D printing with electronics. After adjusting the files, fixing conversion issues and adjusting the size, we landed on a working design that felt solid and responsive. We connected it to an Arduino and used it to trigger an LED, which became the final buttons that were used in the project.
For Eye on the Prize, we built custom buttons that combined 3D printing with electronics. After adjusting the files, fixing conversion issues and adjusting the size, we landed on a working design that felt solid and responsive. We connected it to an Arduino and used it to trigger an LED, which became the final buttons that were used in the project.

PROTOTYPE
PROTOTYPE
PROTOTYPE
Designing
Designing
Designing
After our project client was revealed, we visited the museum's Level Up Exhibit to gain insights on what types of playable the Strong Museum is already using.
After our project client was revealed, we visited the museum's Level Up Exhibit to gain insights on what types of playable the Strong Museum is already using.
After our project client was revealed, we visited the museum's Level Up Exhibit to gain insights on what types of playable the Strong Museum is already using.
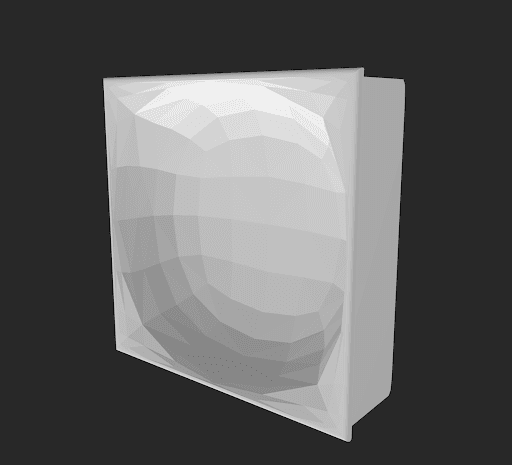
Printing
Printing
Printing
We 3D printed multiple versions of the button, starting with a square design that came out too small due to a scaling issue. We had to work with the FabLab to help us reformat the buttons to get them to print the way we wanted them to.
We 3D printed multiple versions of the button, starting with a square design that came out too small due to a scaling issue. We had to work with the FabLab to help us reformat the buttons to get them to print the way we wanted them to.
We 3D printed multiple versions of the button, starting with a square design that came out too small due to a scaling issue. We had to work with the FabLab to help us reformat the buttons to get them to print the way we wanted them to.

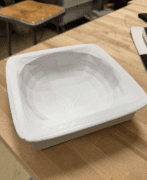
Working Prototype
Working Prototype
Working Prototype
We 3D printed multiple versions of the button, starting with a square design that came out too small due to a scaling issue. We had to work with the FabLab to help us reformat the buttons to get them to print the way we wanted them to.
We 3D printed multiple versions of the button, starting with a square design that came out too small due to a scaling issue. We had to work with the FabLab to help us reformat the buttons to get them to print the way we wanted them to.
We 3D printed multiple versions of the button, starting with a square design that came out too small due to a scaling issue. We had to work with the FabLab to help us reformat the buttons to get them to print the way we wanted them to.
Final Prototype
Final Prototype
Final Prototype
After multiple versions we came up with the final button designs we used for the podiums.
After multiple versions we came up with the final button designs we used for the podiums.
After multiple versions we came up with the final button designs we used for the podiums.

DEVELOPMENT
DEVELOPMENT
DEVELOPMENT
Set Up
Set Up
Set Up
We have a 3D-printed button cover that acts as the physical button. The cover will click up and down using a 1.5 in spring and we used a breadboard and an Arduino to make it work.
We have a 3D-printed button cover that acts as the physical button. The cover will click up and down using a 1.5 in spring and we used a breadboard and an Arduino to make it work.
We have a 3D-printed button cover that acts as the physical button. The cover will click up and down using a 1.5 in spring and we used a breadboard and an Arduino to make it work.

Wiring
Wiring
Wiring
We wired the arcade button to a breadboard and Arduino, using a laptop as the power source. The setup was adjusted to make sure the wires could connect easily inside the box and reach the button without getting in the way.
We wired the arcade button to a breadboard and Arduino, using a laptop as the power source. The setup was adjusted to make sure the wires could connect easily inside the box and reach the button without getting in the way.
We wired the arcade button to a breadboard and Arduino, using a laptop as the power source. The setup was adjusted to make sure the wires could connect easily inside the box and reach the button without getting in the way.

Testing
Testing
Testing
After coding the Arduino, we successfully used the button to turn an LED on and off. Each test helped confirm that the button responded consistently and gave clear feedback, just like it would need to during the game show.
After coding the Arduino, we successfully used the button to turn an LED on and off. Each test helped confirm that the button responded consistently and gave clear feedback, just like it would need to during the game show.
After coding the Arduino, we successfully used the button to turn an LED on and off. Each test helped confirm that the button responded consistently and gave clear feedback, just like it would need to during the game show.

RIT New Media Design
RIT New Media Interactive Development
The Strong Museum of Play